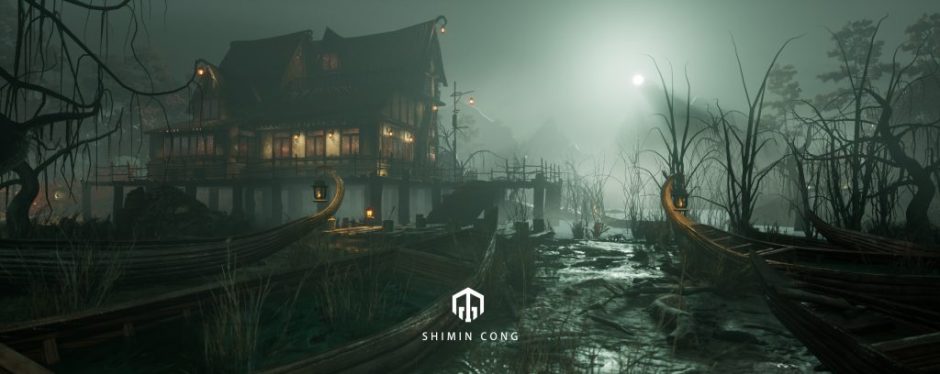
This week I mainly reviewed the modeling function of Houdini. In addition, I also learned and made Arnold rendering and some simple fire smoke, flame and explosion special effects.In general, this week’s knowledge points will be more difficult than the previous 4 weeks. Because this involves many new nodes.
Modeling

First, I made a tunnel by myself based on tutor’s video.

During the environment material creation process, replace the ouput node with the out_environment node.

In the lighting phase, it is important to note that the distance and hdr maps cannot identify volumetric fog.

The noise node makes the fog effect more realistic.
Smoke


Lighting disappeared after adding gasturbulance node.

We can go back to the geometry level and select the dopnet node, and then click the icon at the red mark. In this way, we can watch the results of lighting while adjusting the internal nodes of dopnet.

The first difference between the old solver and the new solver is that the boundary of the old solver is fixed and needs to be adjusted manually. In addition, the division size should be the same value as the voxel size in the volumeterasterizeattributes node.

The second difference between the old solver and the new solver: Under the same force field and the same number of frames, it is obvious that the bound of the latter will be larger. there is also a lot of empty voxels and these voxels are just ignored by the by the simulation.

The above is a demonstration of making the smoke effect.
Fire

Pyrosolver is aimed at fire effects, which includes the function of smoke effects.

Saving simulation vdb is open vdb, which is an updated general volume data type. It can export vdb format as general material. This contains a variety of density and volume data, which is a larger collection of data than fog, SDF, etc.

The above is a demonstration of the completion of fire effect production

In the texturing phase, what we want to create is the material node for smoke-standard _volume.

Controlling Emission through channel.


The next test is: adding a physical collision to the sphere, which can affect the shape of the fire. The effect is shown in the figure below:

Obviously, we can observe the flame being passed through. But such collisions are not real. The real flame collision should also have the effect of the flame being affected by the wind, in the direction of movement of the sphere.
In response, the following adjustments have been made.


We added a pointvelocity node which is used to increase the V attribute.The results are as follows:

Explosion


Emission can be adjusted here. The following is a comparison of the effects before and after adjustment.

Above is a preview of the flame effect.

Before rendering, we must convert the explosion to VDB so that the effect of the explosion can be simulated.

But after the texturing is over, the rendering results are as shown in the figure above. Obviously there was an error in my production process.

After many inspections of normals: the white effect is due to the rendering of redundant objects. As shown in the figure above: the white effect is due to the simultaneous rendering of two objects, explosion and Arnold_volume. Obviously we only need to keep the Arnold volume.

The above is the explosion effect after adjusting the material.

The last test of the week is to add a physical collision to the explosion. The shape of the smoke after the explosion is affected by the collision with the sphere.The figure above is the connection of nodes.


The above is the effect before and after the physical collision is increased.
