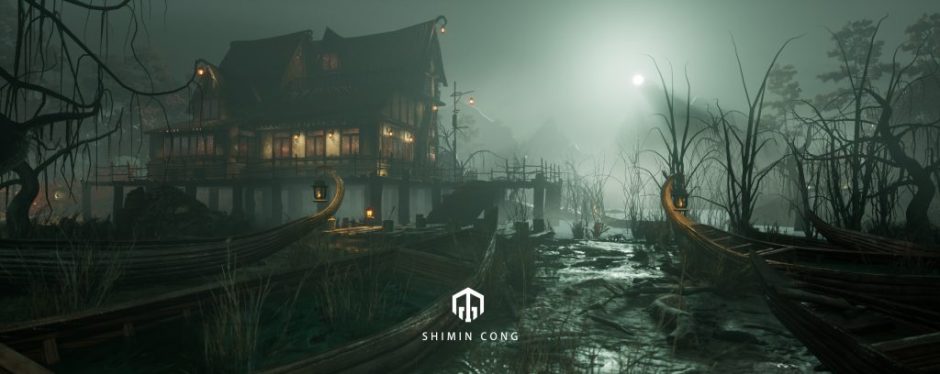
This week’s personal project is mainly about the modification of the water material in the scene, the study of the stone material, the study of bubble special effects, and the material shader compilation of the special rendering filter of postprocessvolume.
Stone
The first is the stone material test. The picture below shows me using blueprints to stitch together multiple models. Thus forming a complex model.
But because it is in the form of a blueprint. Unreal’s vegetation system cannot be drawn on the blueprint. So I tried to change the texture node of the rock. Calculate the plane with a slope less than about 30 degrees, that is, the area except the upper top surface. Let it shift downward. So as to achieve the effect of ice thorns.
This is the material test in term1 I made before.
This is the node link corresponding to the world position offset. This connection method is mainly to write the material to produce a displacement effect below the Z axis.
这是材质修改前后的效果对比。虽然看上去得到了好的画面效果。但是给游戏运行带来了很大的负担。
The scene burden before the modification is 27.53. After the modification, the scene burden is 41.10. By comparison, I chose to modify the previous plan. Because of the obvious lag phenomenon in the second plan.
Water
This is the effect of the water surface before the modification. I used the resources in the EPIC Mall for the material of this water. Here are some useful parameters. But at the same time, It is difficult to see the transparency and refraction properties of water from the picture.
Here I want to introduce a reference to ZBZU, as shown in the water surface effect. We can easily feel the refraction and transparency of the water surface.

Normal

Refraction
As shown in the figure, I mainly modified the Normal and Refraction. Normal can also affect the refraction of water. I use multiple Panner nodes to superimpose the motion of the noise map. Make sports more enriched. For refraction, I set two different values and distance calculations near the shore and the center of the ocean.
After modifying the parameters, I got the water surface effect as shown in the figure.
Bubble VFX
This week I also made an important resource bubble on the seabed. I have summarized some production methods through Dare to watch Youtube tutorials. First, use the Panner node to make the UV of the bubbles have the same wave effect as the water surface. The effect of bubbles is mainly controlled by normal and transparency.
After the material is written, we can refer to the particle emission of the smoke special effect for the emission method of the bubble particles. The two are very similar. The key parameters are particle size, speed, emission source, rotation, life span, and color within life.
Rendering material in PostProcessVolume
The effect of the rendering material is similar to liquefying the picture in the scene. So as to achieve the underwater distorted scene effect.
The location of the parameter
The figure above shows how the nodes are connected. We can find from the journey that the sphere is distorted. This is like the distortion of the objects we see underwater.
In short, the Panner node plays a key role in the resource production of ocean scenes. Through these productions, I became more familiar with the texture and special effects system in Unreal.
